User Guides
This guide walks you through the complete process of using Zaunchpad, whether you’re launching a token, buying tokens, or managing your dashboard.
How to Create Token
Step 1: Connect Your Wallet
- Navigate to app.zaunchpad.com
- Click “Connect Wallet” in the top right
- Select your Solana wallet:
- Phantom, Solflare, or other Solana wallets
Step 2: Navigate to Create Page
- Click “CREATE” in the navigation menu
- Or navigate directly to
/create
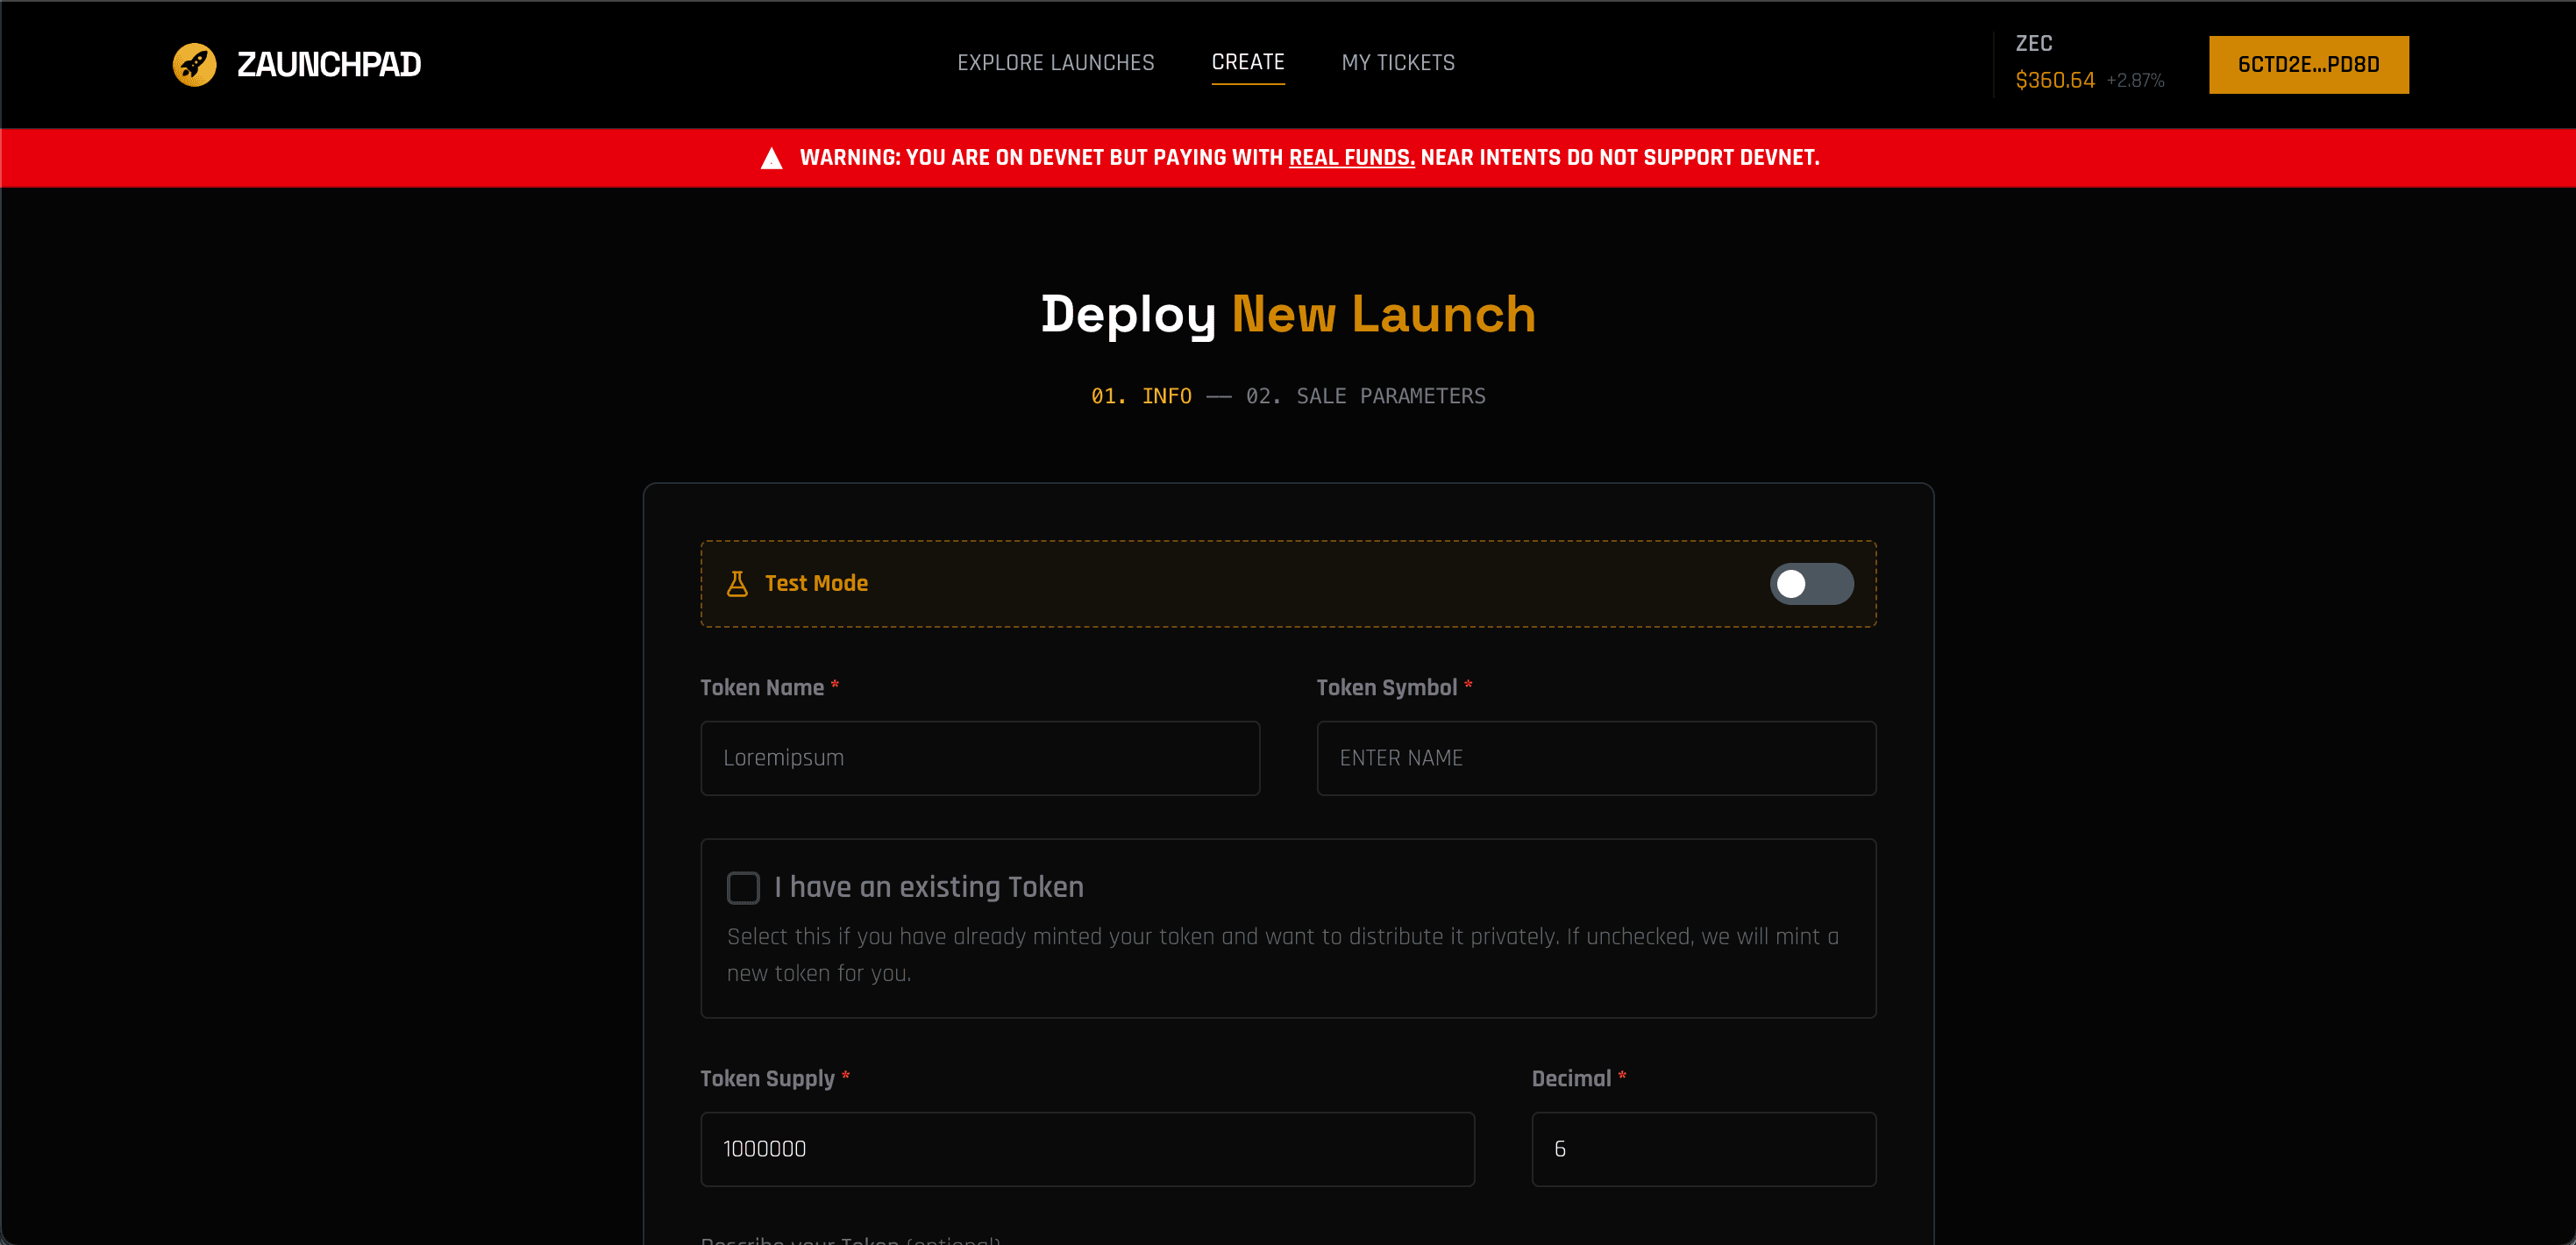
Step 3: Token Information (Step 01. INFO)
The first step involves configuring your token’s basic information and branding.
Test Mode (Optional)
You can enable Test Mode to auto-fill sample data for testing purposes. This is useful for exploring the interface without entering all fields manually.

Token Details
-
Token Name (Required): The full name of your token
- Example: “My Awesome Token”
- This field is disabled if using an existing token
-
Token Symbol (Required): Short symbol (max 5 characters)
- Example: “MAT”
- Automatically converted to uppercase
- This field is disabled if using an existing token
New Token vs Existing Token
You have two options:
Option A: Create New Token
- Leave “I have an existing Token” unchecked
- Configure:
- Token Supply (Required): Total number of tokens to mint (e.g., 1000000)
- Decimal (Required): Token decimals (typically 6 or 9)
Option B: Use Existing Token
- Check “I have an existing Token”
- Enter Token Mint Address (Required): Your Solana SPL token mint address
- The system will automatically fetch and display token information
- Token name, symbol, and other details will be auto-filled from the blockchain

Note: For existing tokens, you’ll transfer the sale allocation into the Zaunchpad Shielded Vault. Buyers purchase tickets anonymously, and when they claim, the Vault releases your tokens to their fresh wallets, breaking the link between payment and claim.
Token Description
- Description (Optional): Describe your token and project
- This helps potential buyers understand your project
Token Logo
- Token Icon (Required): Upload your token logo
- You can:
- Drag and drop an image file
- Click to browse and select a file
- Paste from clipboard (Ctrl+V / Cmd+V)
- Supported formats: Common image formats (PNG, JPG, SVG, etc.)
Social Links (Optional)
Add your project’s social media presence:
- X/Twitter: Enter username (e.g., “username” for x.com/username)
- Telegram: Enter channel/handle (e.g., “channel” for t.me/channel)
- Website: Enter domain (e.g., “example.com” for https://example.com )
All social URLs are validated automatically.
Proceed to Next Step
Once you’ve filled in all required fields (Token Name, Symbol, Logo, and either Token Supply/Decimal for new tokens or Mint Address for existing tokens), click “NEXT STEP →” to proceed.
Step 4: Sale Parameters (Step 02. SALE PARAMETERS)
The second step configures your token sale economics and timing.
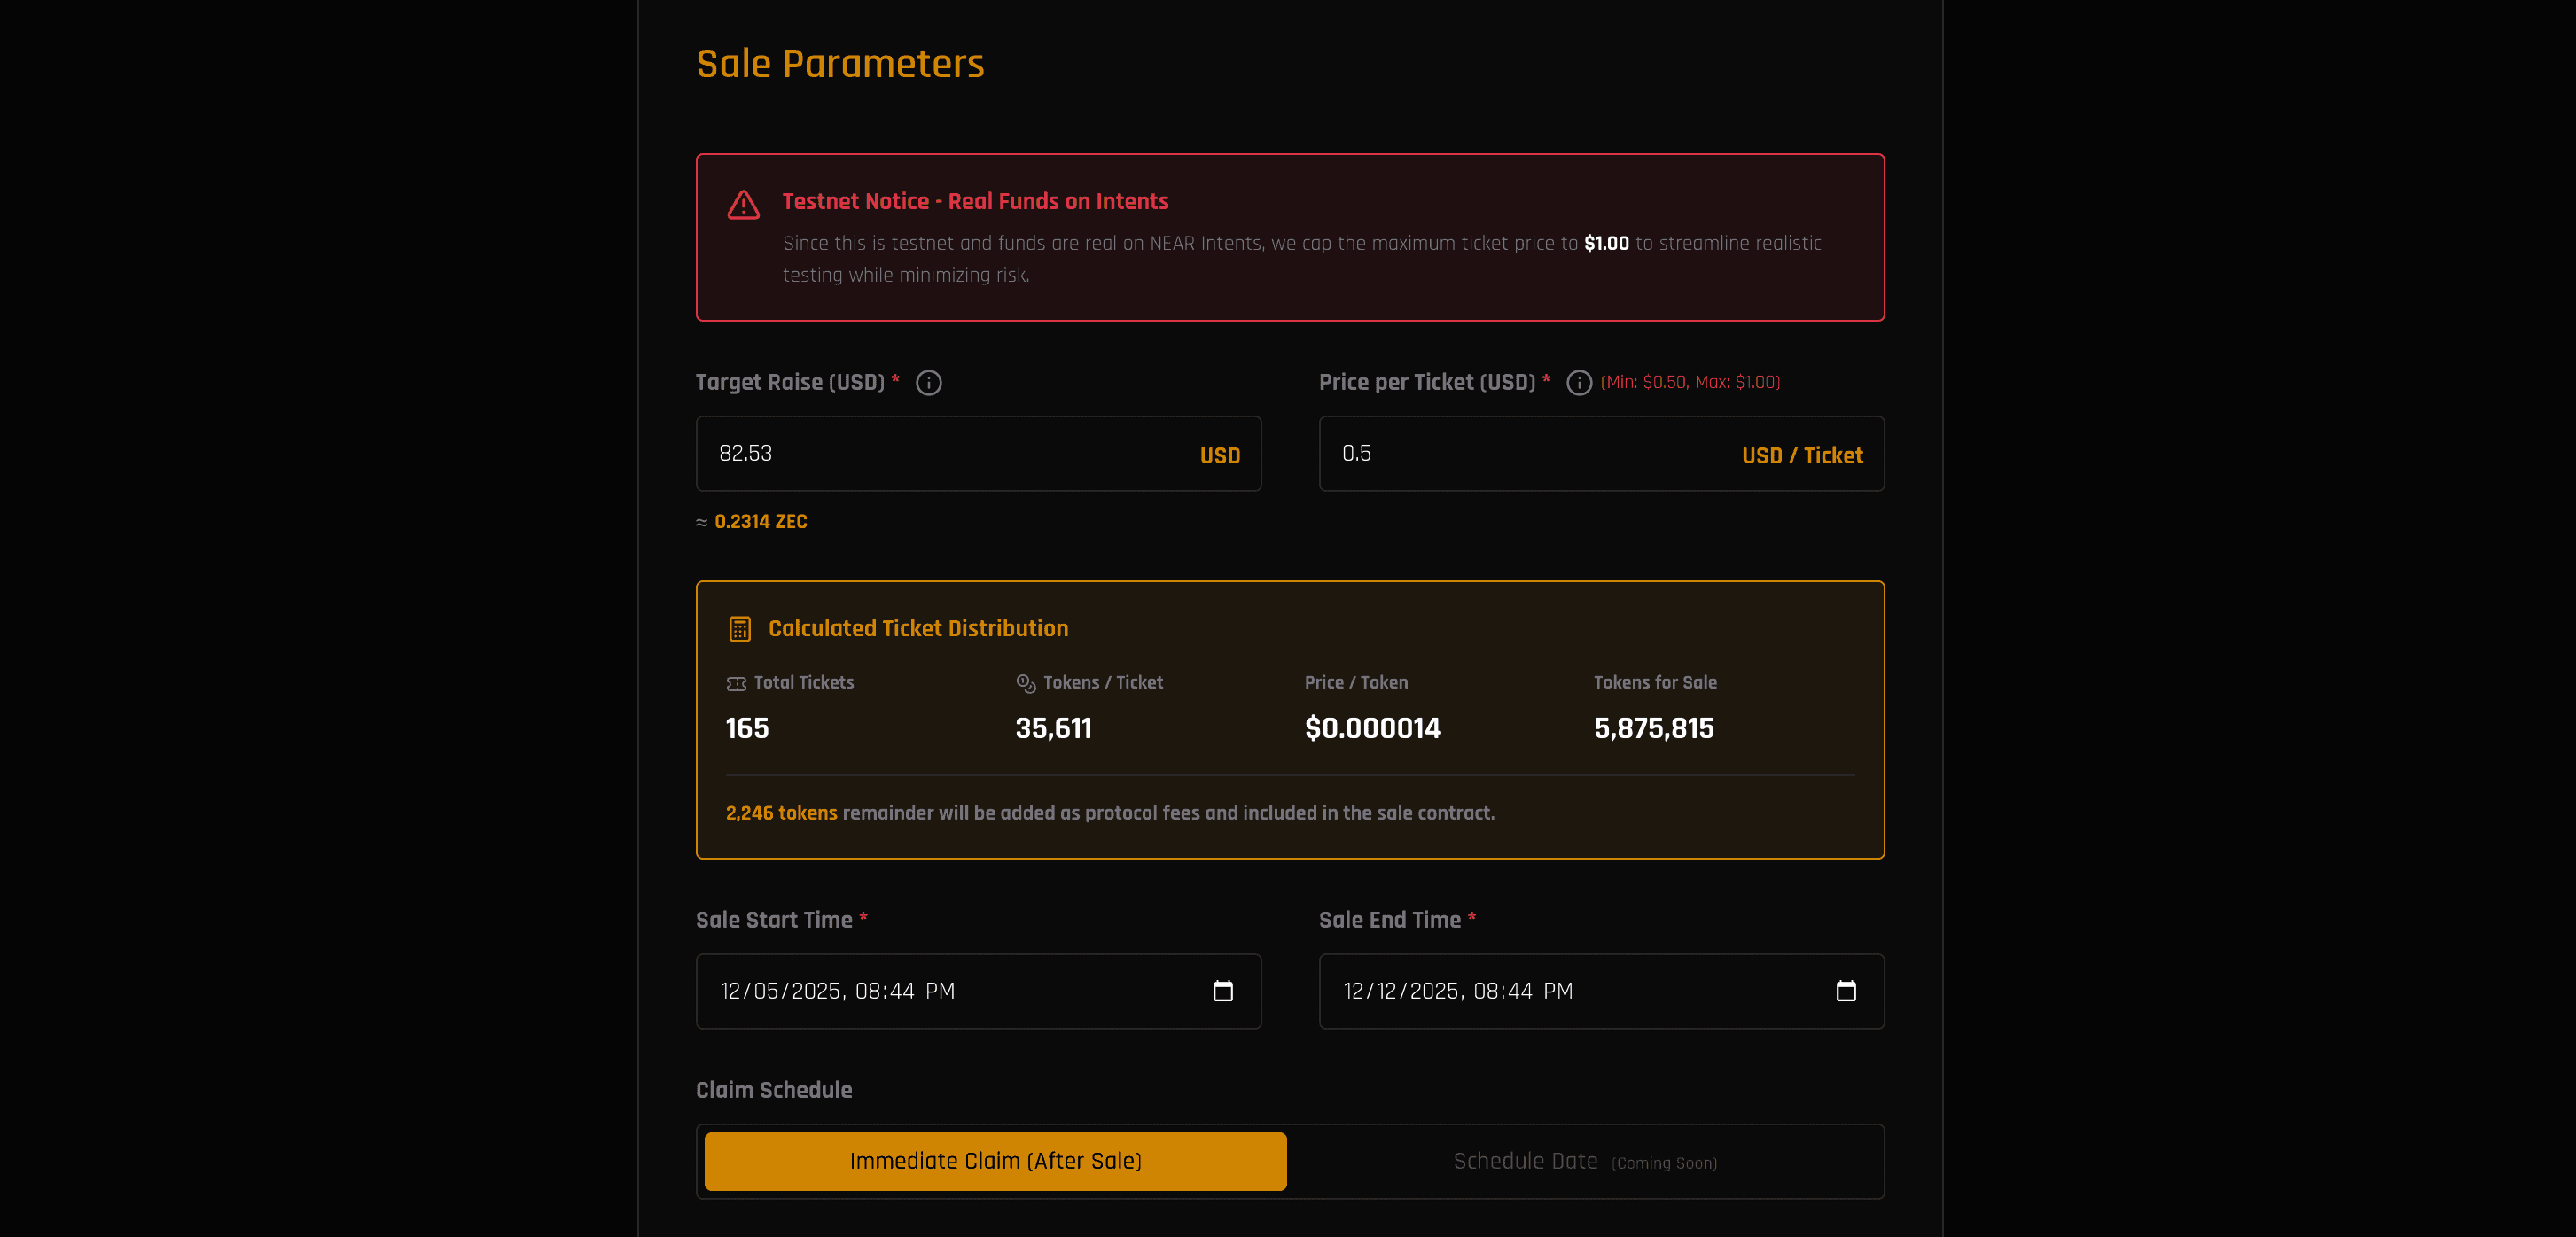
Testnet Notice
On testnet, the maximum price per token is capped at $0.10 to minimize risk while testing with real funds on NEAR Intents.
Pricing
- Price per Token (USD) (Required)
- Enter the price in USD (e.g., 0.00001)
- Maximum: $0.10 on testnet
- The system automatically converts this to SOL based on current market prices
Sale Amounts
-
Minimum Raise (Tokens) (Coming Soon)
- Currently disabled - coming in a future update
- Will allow setting a funding goal with automatic refunds if not met
-
Amount to be Sold (Tokens) (Required)
- Total number of tokens available for sale
- Example: 100000
- This amount goes into the vault for distribution
Sale Timing
-
Sale Start Time (Required)
- Select when your token sale begins
- Must be in the future
- Use the datetime picker to set date and time
-
Sale End Time (Required)
- Select when your token sale ends
- Must be after the start time
- Minimum: 1 minute after start time
Claim Schedule
Currently, only Immediate Claim is available:
- Claims can begin immediately after the sale ends
- Scheduled Claim (coming soon): Set a custom date for when buyers can claim
Creator Wallet (ZEC)
Creator Wallet (ZEC) (Required): Your Zcash wallet address to receive funds from NEAR Intents
- Supports three address types:
- Transparent addresses: Start with
t1...(34-36 characters) - Shielded addresses: Start with
zs...(77-79 characters) - Unified addresses: Start with
u1...(78+ characters)
- Transparent addresses: Start with
How to get a ZEC address:
- Download a Zcash wallet:
- Create a new wallet and securely save your seed phrase
- Copy your receiving address (starts with t1, zs, or u1)
💡 Privacy Tip: For better privacy, use a shielded (zs) or unified (u1) address instead of a transparent (t1) address.
How It Works
- Sale end time must be after start time
- After sale ends, creators can claim any unsold tokens via ZK proof verification
- Claim period starts immediately after sale ends
- Buyers purchase tickets anonymously using ZEC via NEAR Intents
Coming Soon Features
- Scheduled Claim: Set a custom date for when buyers can claim their tokens
- Minimum Raise: Set a funding goal; if not met, buyers get automatic refunds
- Buyer Refunds: If target not hit, tickets can be used to reclaim funds
- Vesting Schedules: Release tokens gradually over time
- Whitelist/Allowlist: Restrict who can participate in the sale
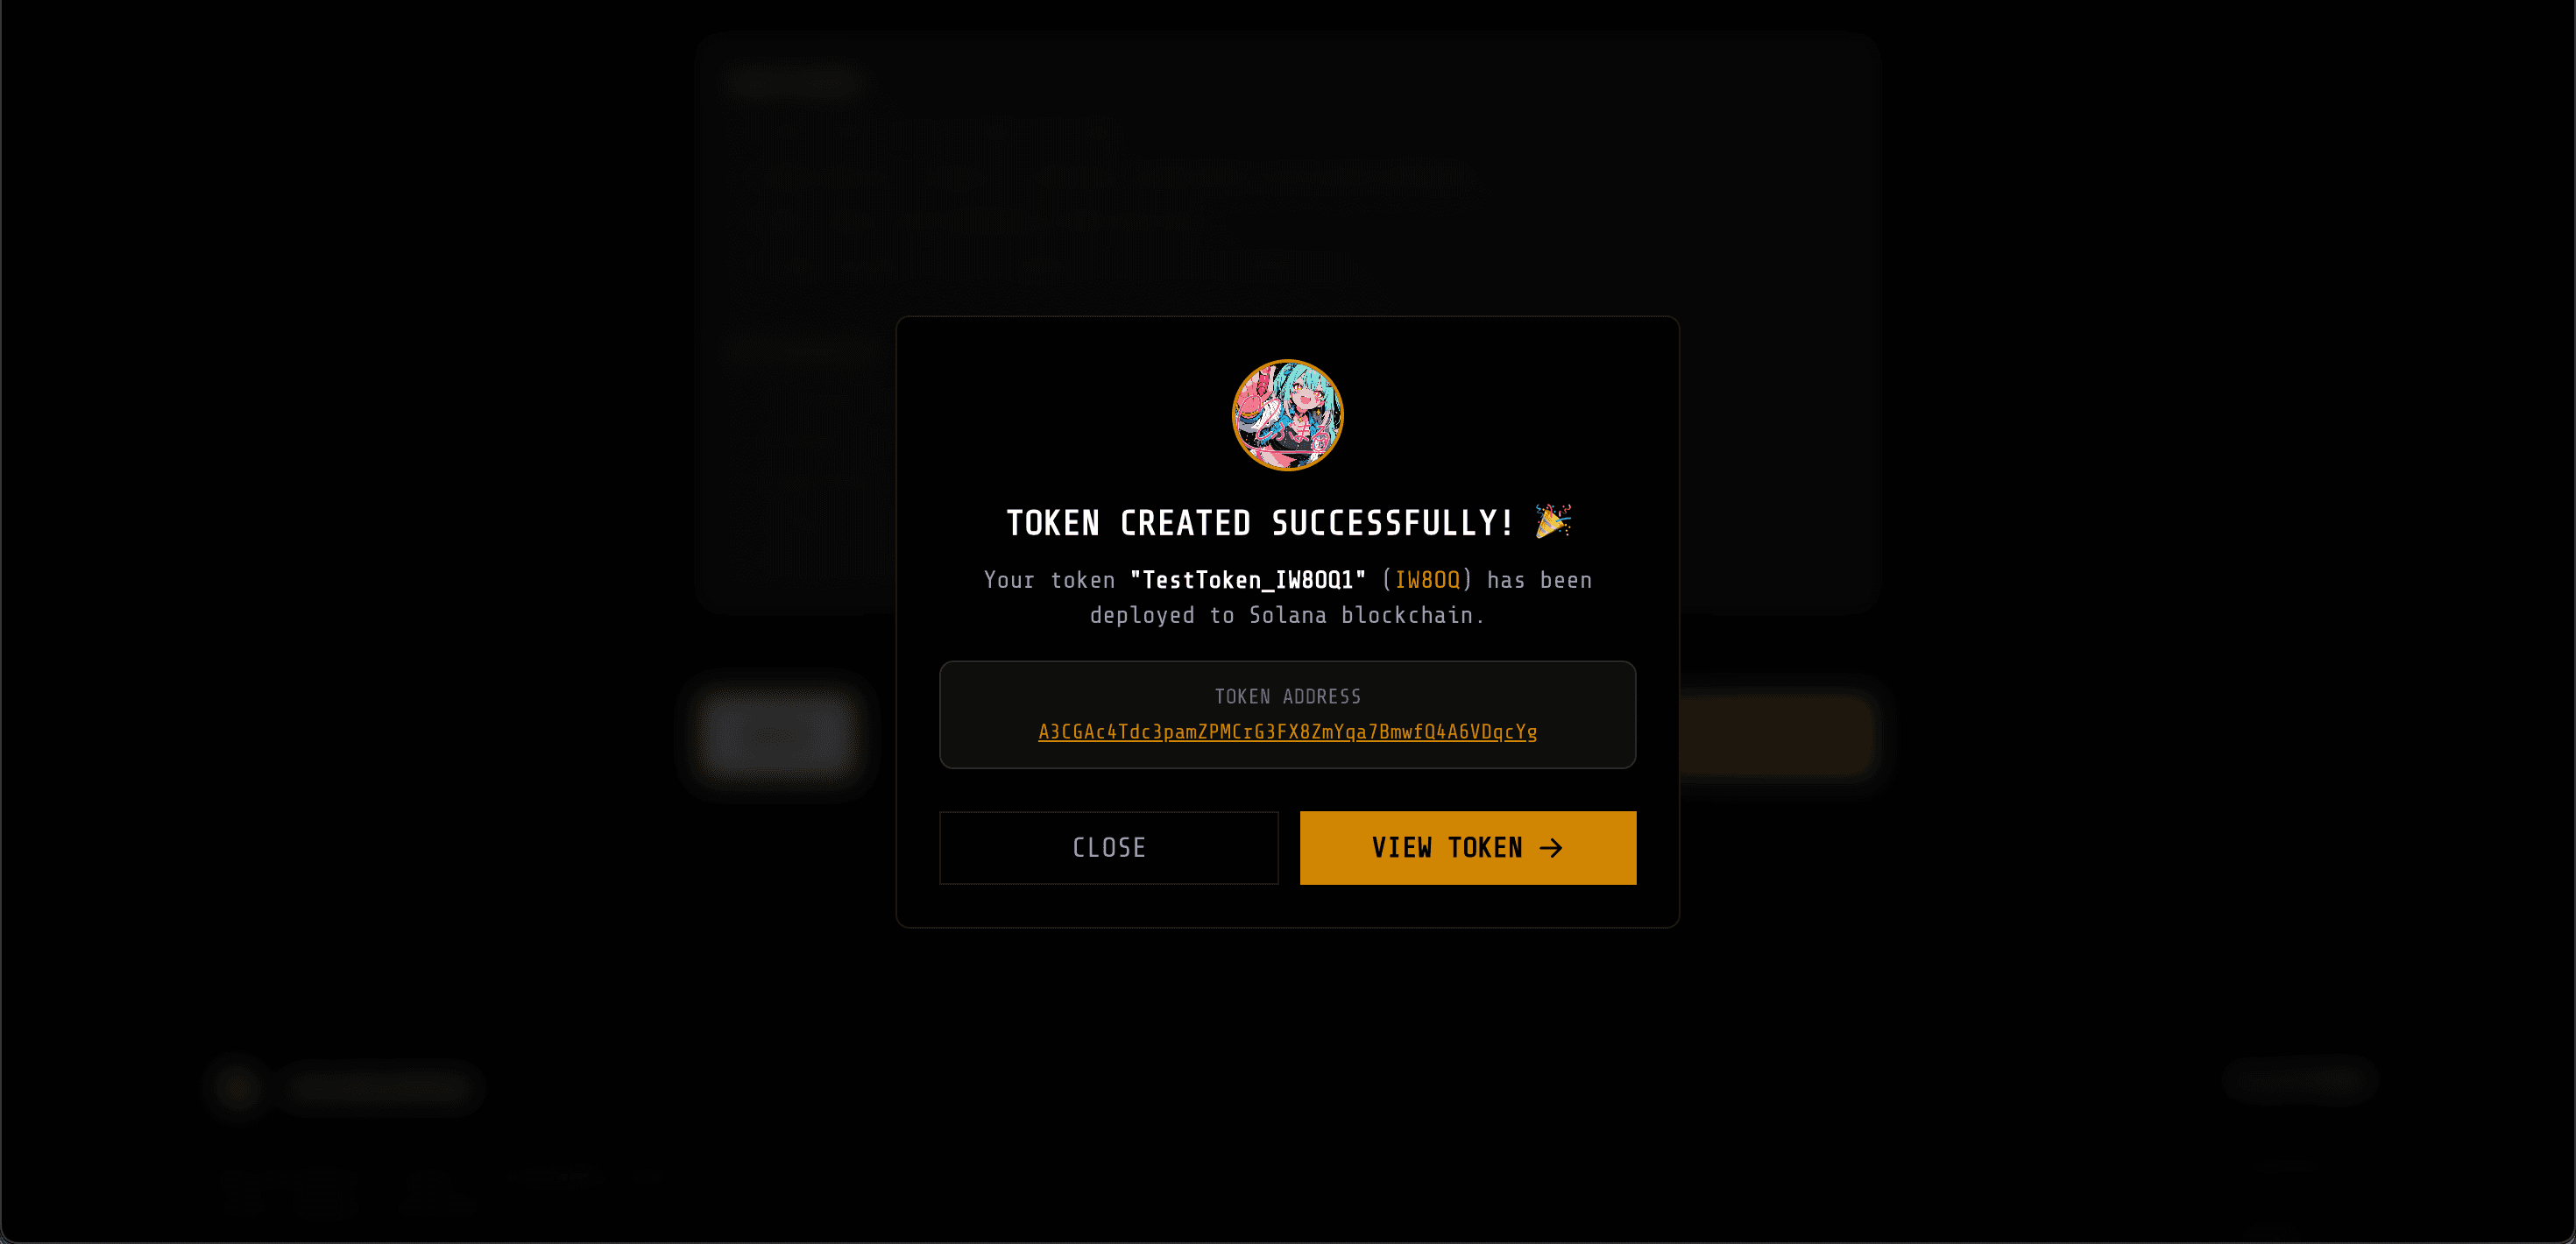
Deploy Token
Once all required fields are filled:
- Review all settings carefully
- Click “DEPLOY TOKEN”
- Confirm the transaction in your wallet

- Wait for deployment progress:
- Preparing Token
- Uploading Metadata to IPFS
- Deploying Token on Blockchain
- Confirming Transaction

- Your token launch is now live!
How to Buy Token
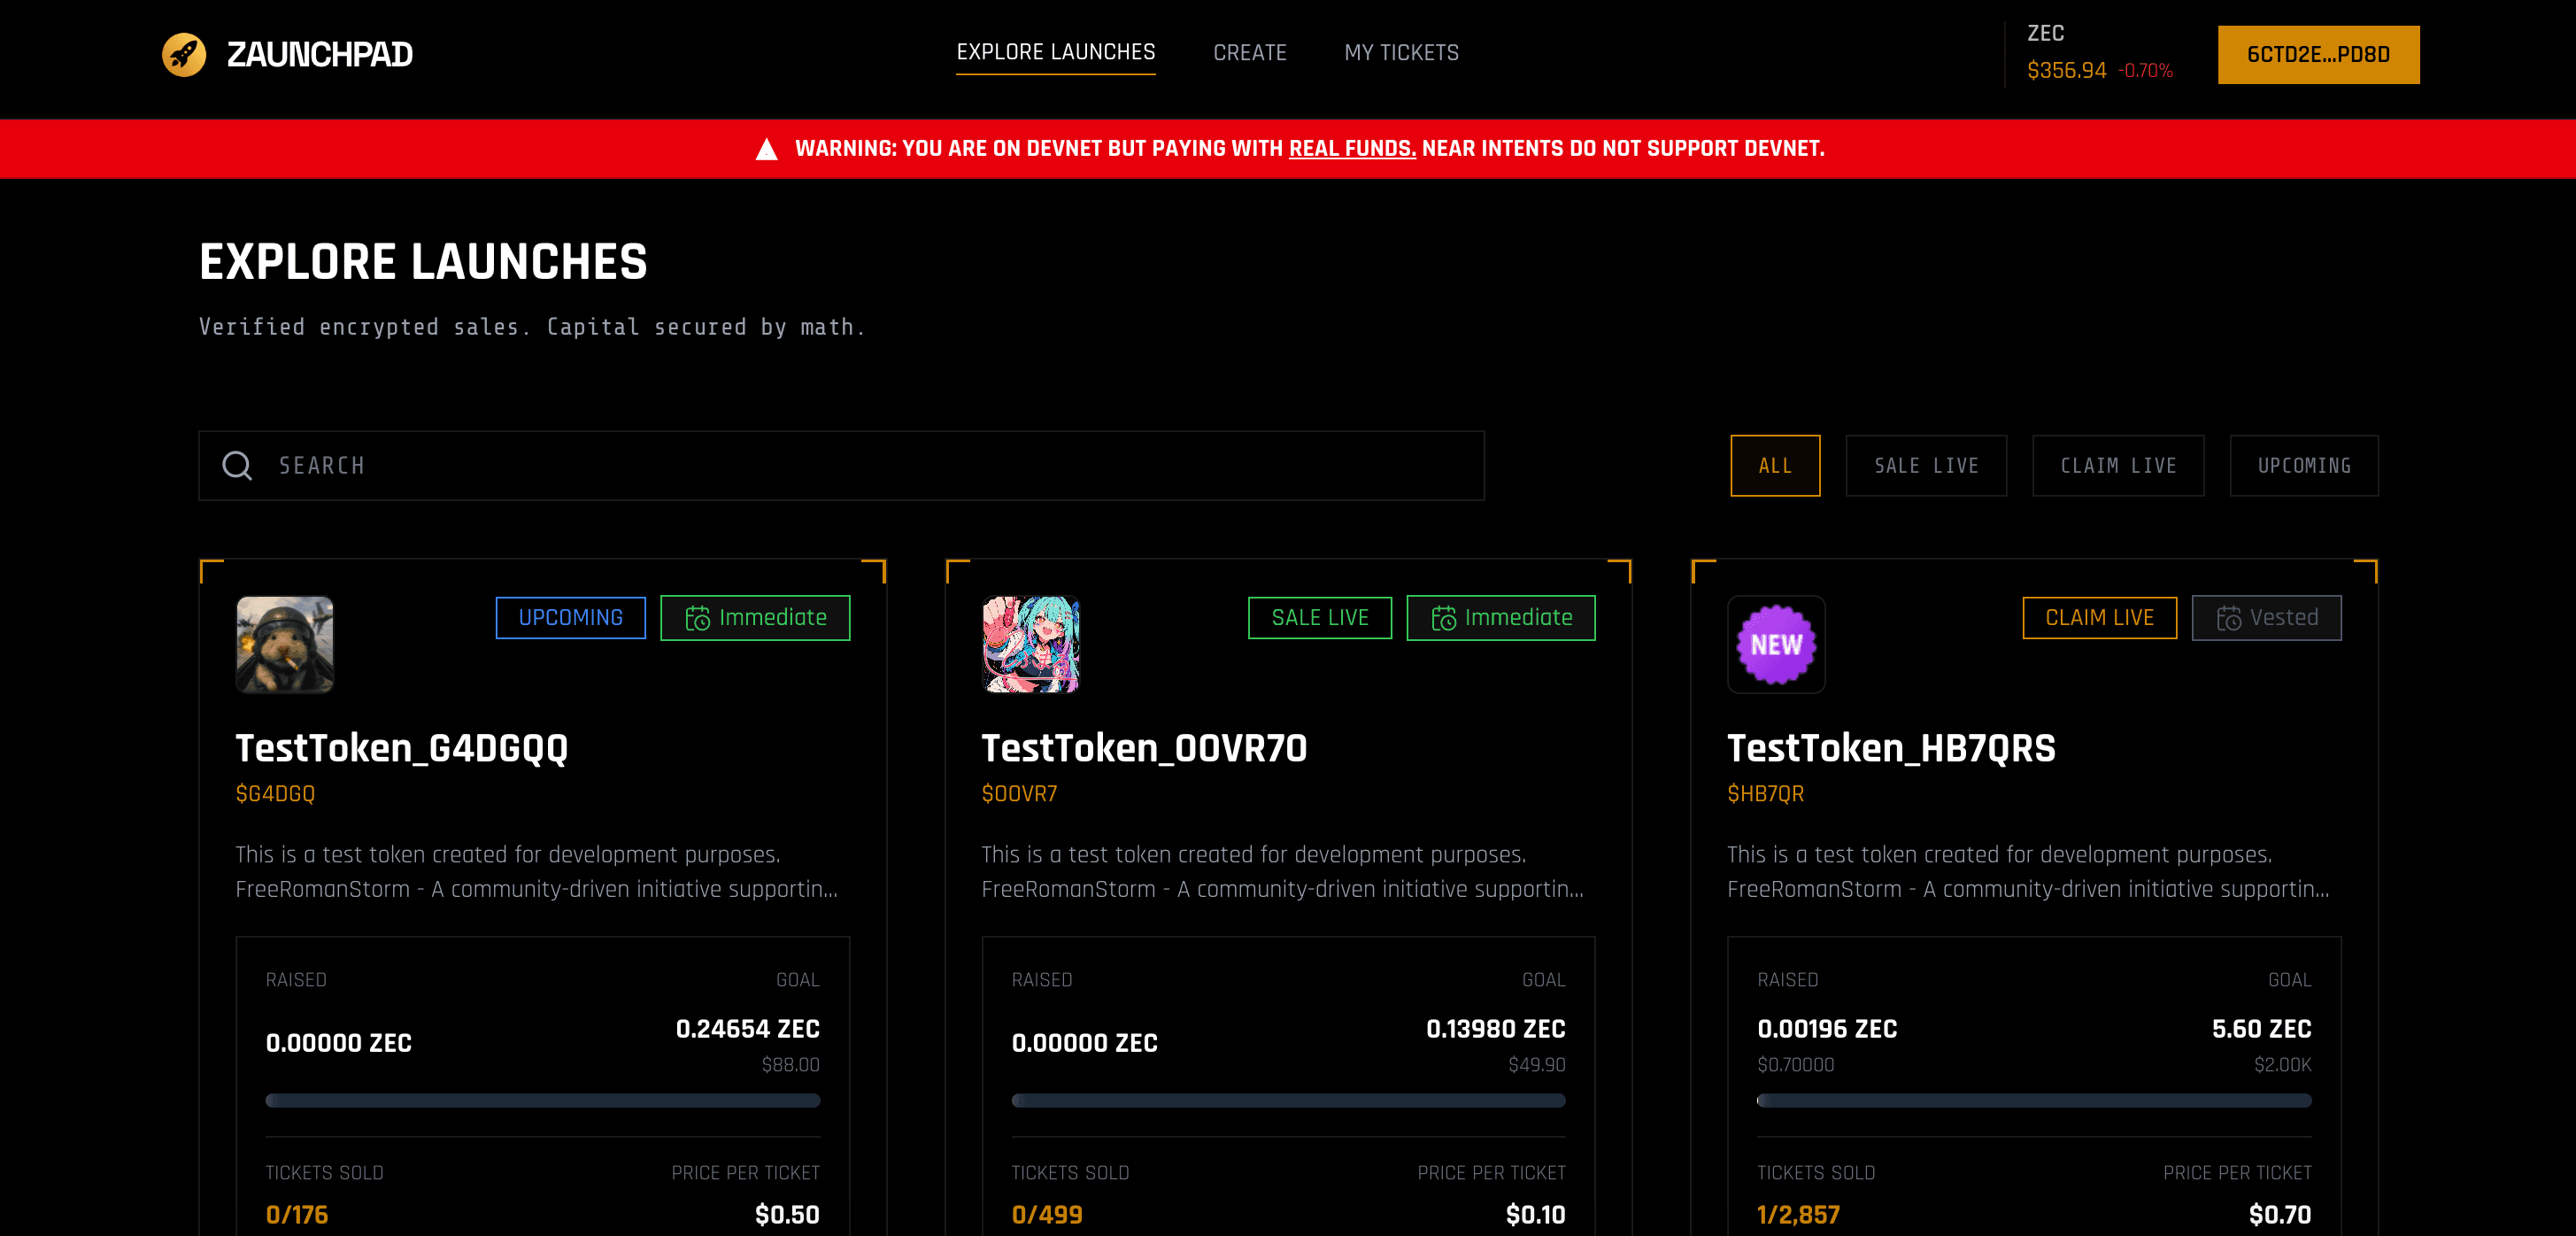
Step 1: Browse Available Launches
- Visit the main page to see all available token launches
- Click “EXPLORE LAUNCHES” in the navigation
- Browse active token sales
- Click on a token to view details
Step 2: Review Token Information
Before participating, review the token detail page:
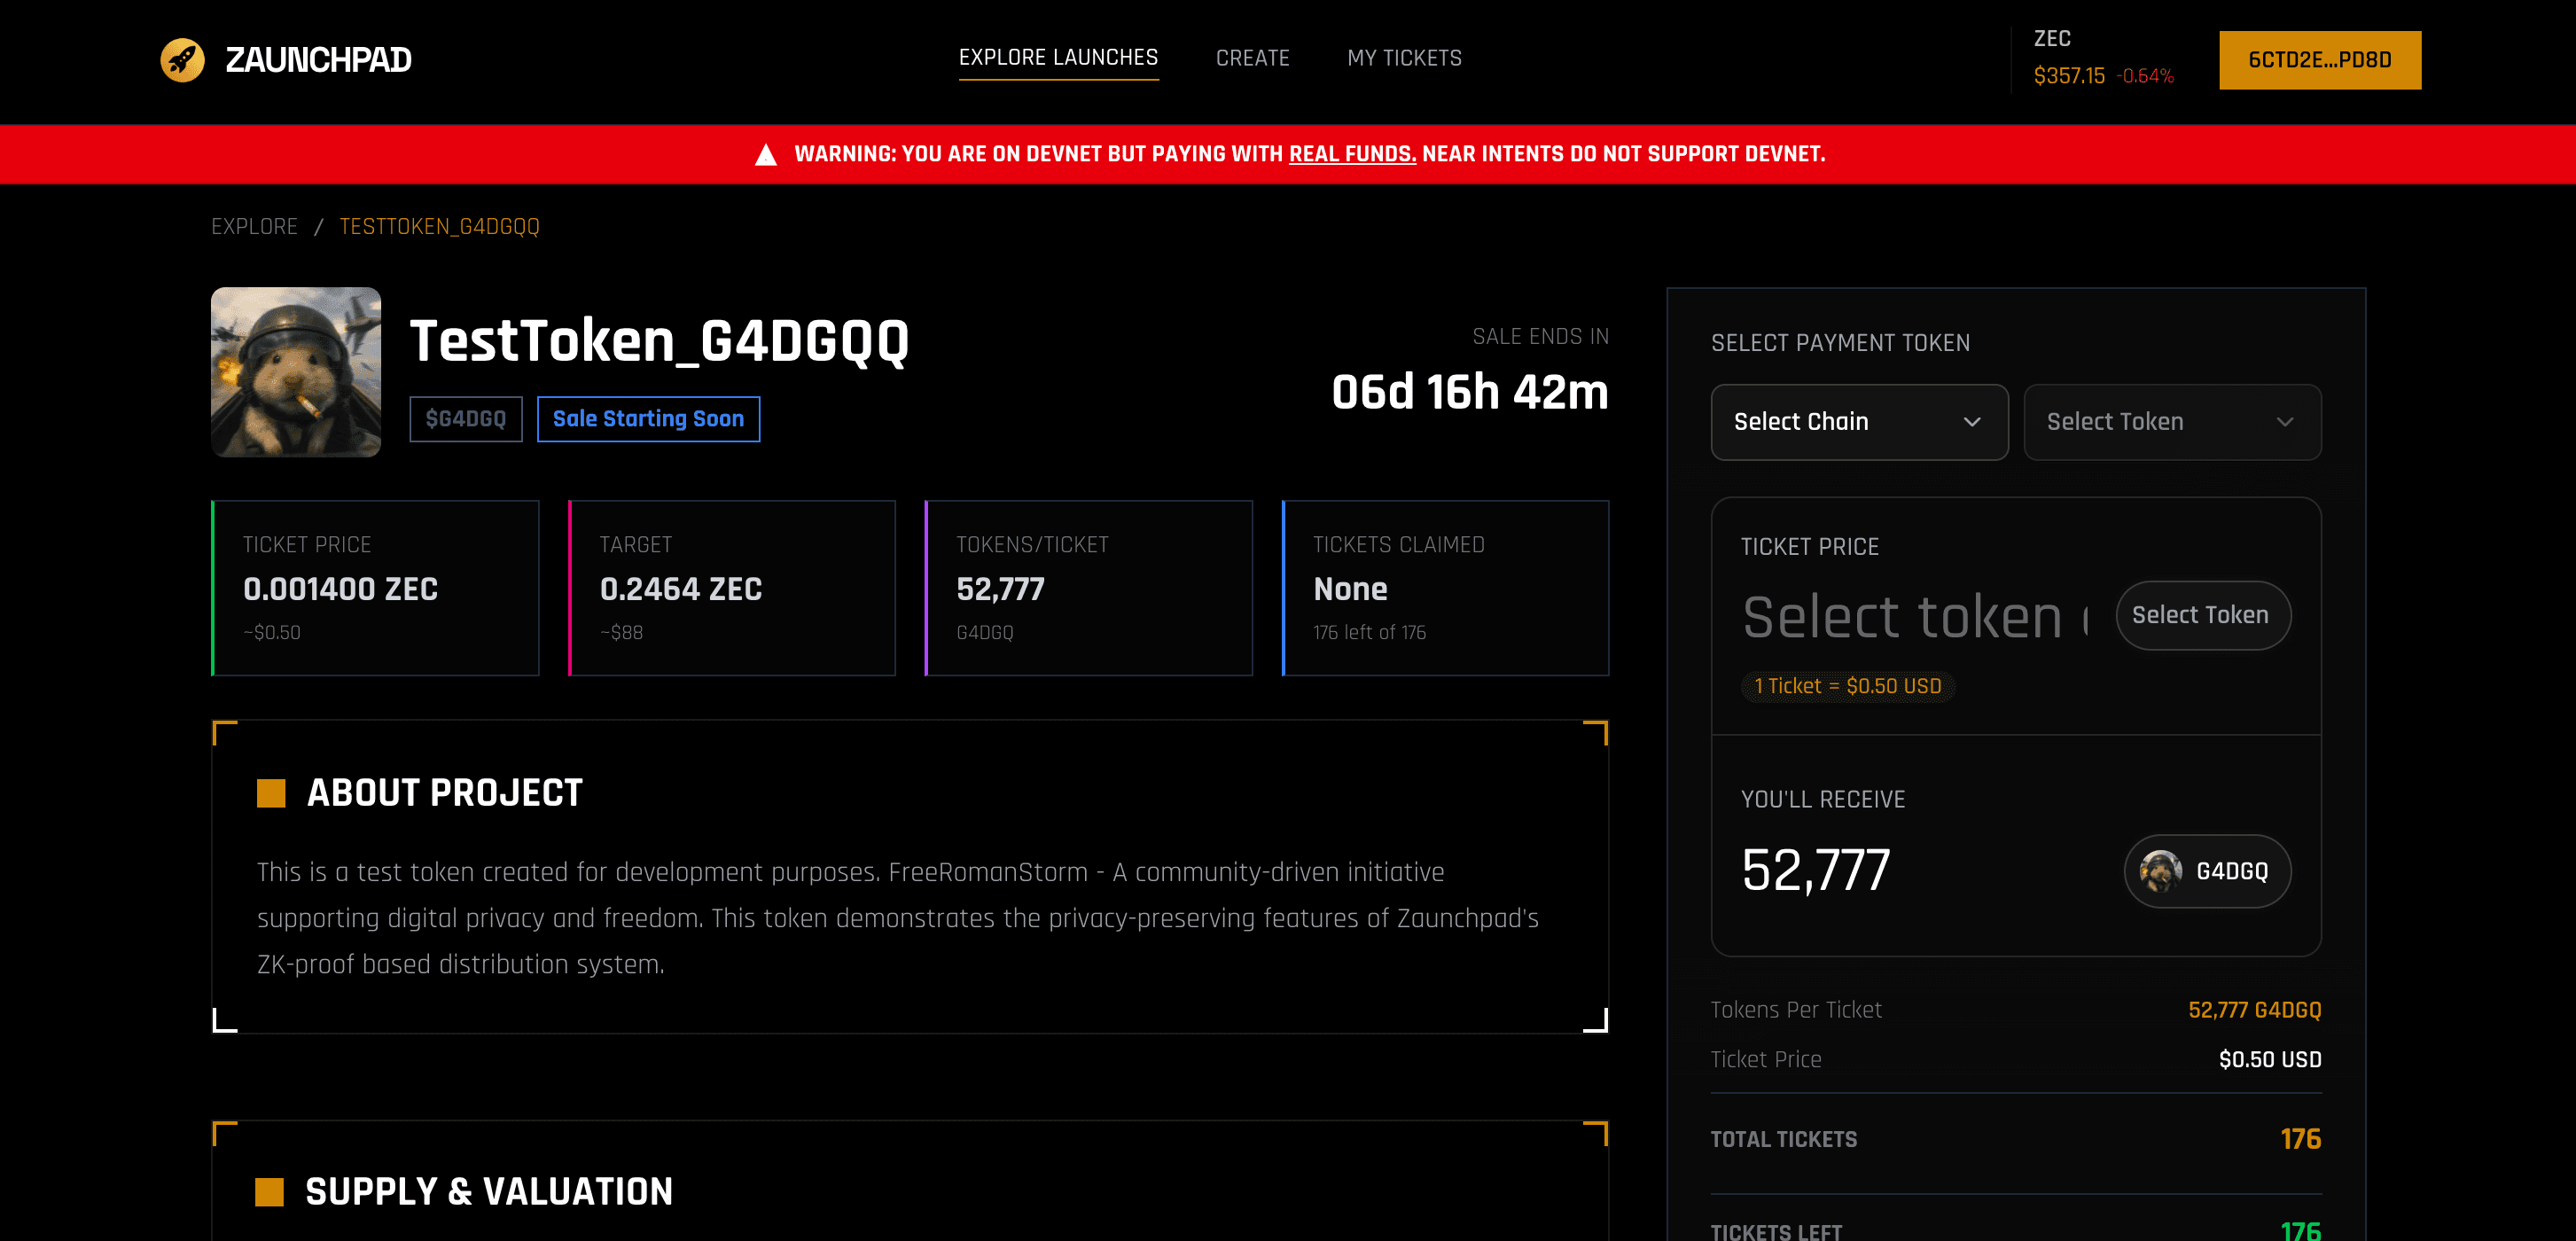
Review the following information:
- Token Details: Name, symbol, description, logo
- Launch Parameters: Price per token, total supply, amount to sell
- Timing: Start time, end time, claim period
- Creator Information: Launch creator details
- Privacy Features: Shielded pool participation
- Sale Status: Whether the sale is active, upcoming, or ended
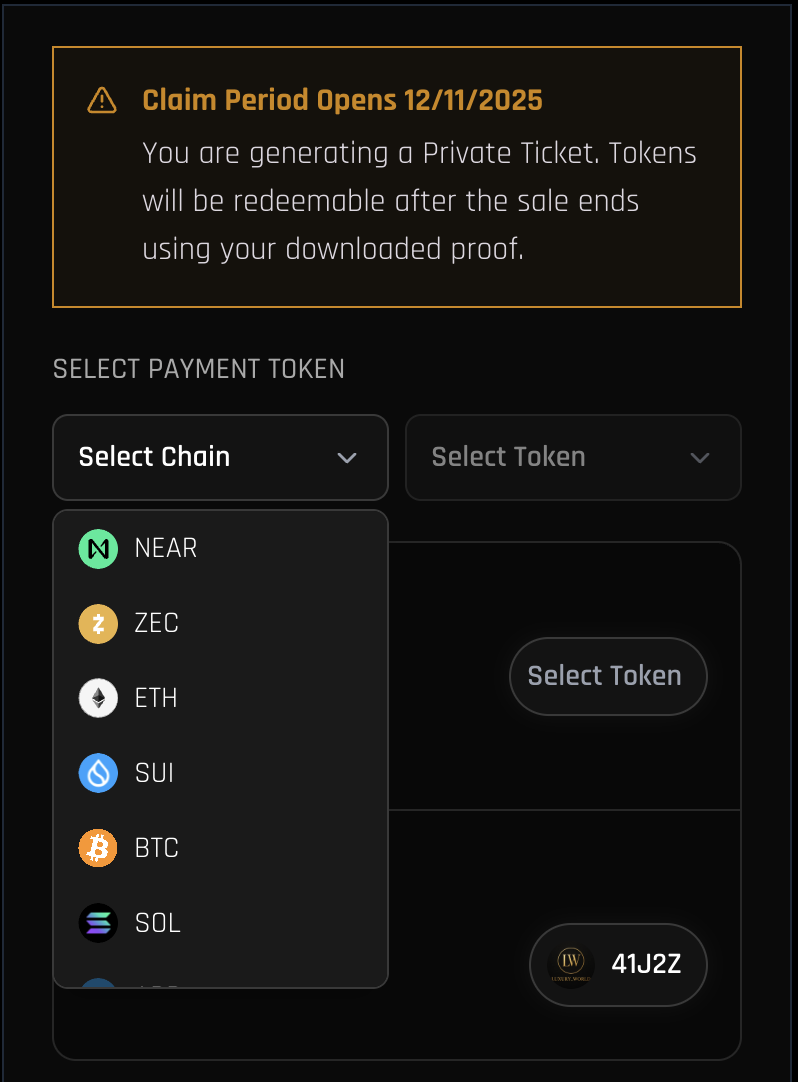
Step 3: Deposit with Any Asset (NEAR Intents)
Using NEAR Intents, the system automatically swaps your deposit to Zcash:
- Click “Participate” or “Buy” on the token page
- Connect your NEAR wallet if not already connected
- Select Payment Chain: Choose the blockchain you want to pay from
- Supported chains: Ethereum, NEAR, Base, Arbitrum, Polygon, and more
- Select Payment Token: Choose the token you want to use
- ETH, USDC, USDT, NEAR, or other supported tokens
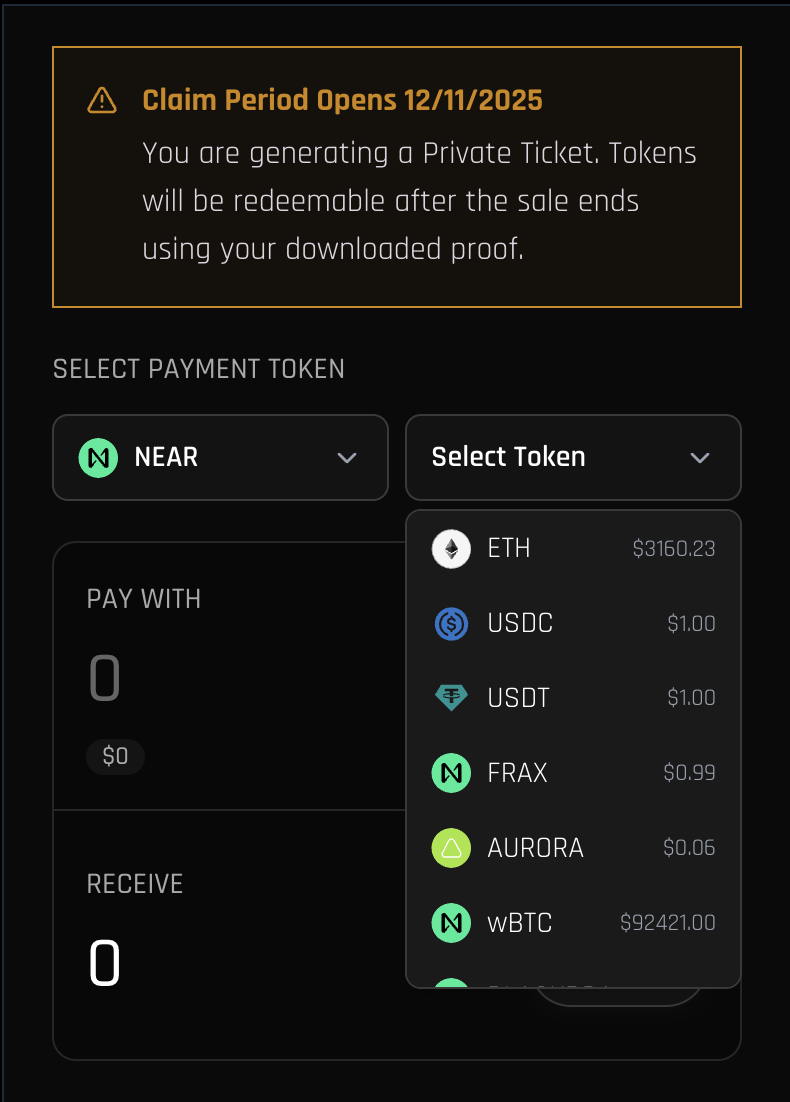
- Check Price Before Get Ticket: Review the price and details before proceeding

- Review the transaction details:
- Deposit Amount: Amount you’re depositing
- Swap Details: Automatic swap to Zcash via OneClick
- Expected ZEC: Amount of Zcash after swap
- Network Fees: Transaction costs
- Confirm the transaction

- Click “Check Status” - After your deposit is confirmed, click the “Check Status” button. The claim option will then appear.

Step 4: ZK-SNARK Proof Generation
After your deposit and swap are verified:
- TEE Verification: Phala TEE verifies swap success
- Checks swap status is SUCCESS (via OneClick API)
- Verifies recipient matches creator
- Confirms destination asset is ZEC (nep141:zec.omft.near)
- Proof Generation: TEE generates zero-knowledge proof
- Acts as an IOU of predetermined amount at mint price
- This proof is your claim ticket
- Proof Download: Download the proof ZIP file
- Save it securely - you’ll need it to claim tokens
- Each proof gets a unique reference (e.g.,
zk_proof_a1b2c3d4)
Step 5: Capital Allocation
- Allocated capital is deposited into the Meteora pool
- Provides liquidity for the token launch
- Maintains your privacy throughout the process
How to Claim Token
Step 1: Wait for Claim Period
- Claims can only begin after the launch
end_time - Check the token page for claim availability
- Monitor the launch status
- The claim period starts immediately after the sale ends (for immediate claim launches)
Step 2: Load Your Proof
- Navigate to the token detail page
- Locate the proof ZIP file you downloaded during purchase
- Use the proof loader in the claim interface
- Upload or drag-and-drop your proof ZIP file
- Verify proof details:
- Launch PDA
- Token mint address
- Claim amount
- Deposit address
Step 3: Connect Solana Wallet
- Connect your Solana wallet (Phantom, Solflare, etc.)
- Ensure wallet has sufficient SOL for transaction fees
- Verify you’re on the correct network (Solana mainnet)
Step 4: Create Claim Transaction
- The system creates a compact claim transaction
- Includes:
- Your ZK proof
- Launch PDA
- Token mint
- Claim amount
- Deposit address verification
- Review transaction details carefully
Step 5: Submit and Confirm
- Submit the claim transaction
- Confirm in your wallet
- Wait for Solana confirmation
- Tokens will be transferred to your wallet
Step 6: Flexible Claiming Options
With the claim system via proofs, you can:
- Claim on Solana: Direct claim to your Solana wallet
- Bridge via Omni Token: Claim on your desired Layer Zero OFT supported chain (coming soon)
How to Use My Dashboard
Accessing Your Dashboard
- Click “MY TICKETS” in the navigation menu
- Or navigate to
/token/me - Connect your wallet if not already connected
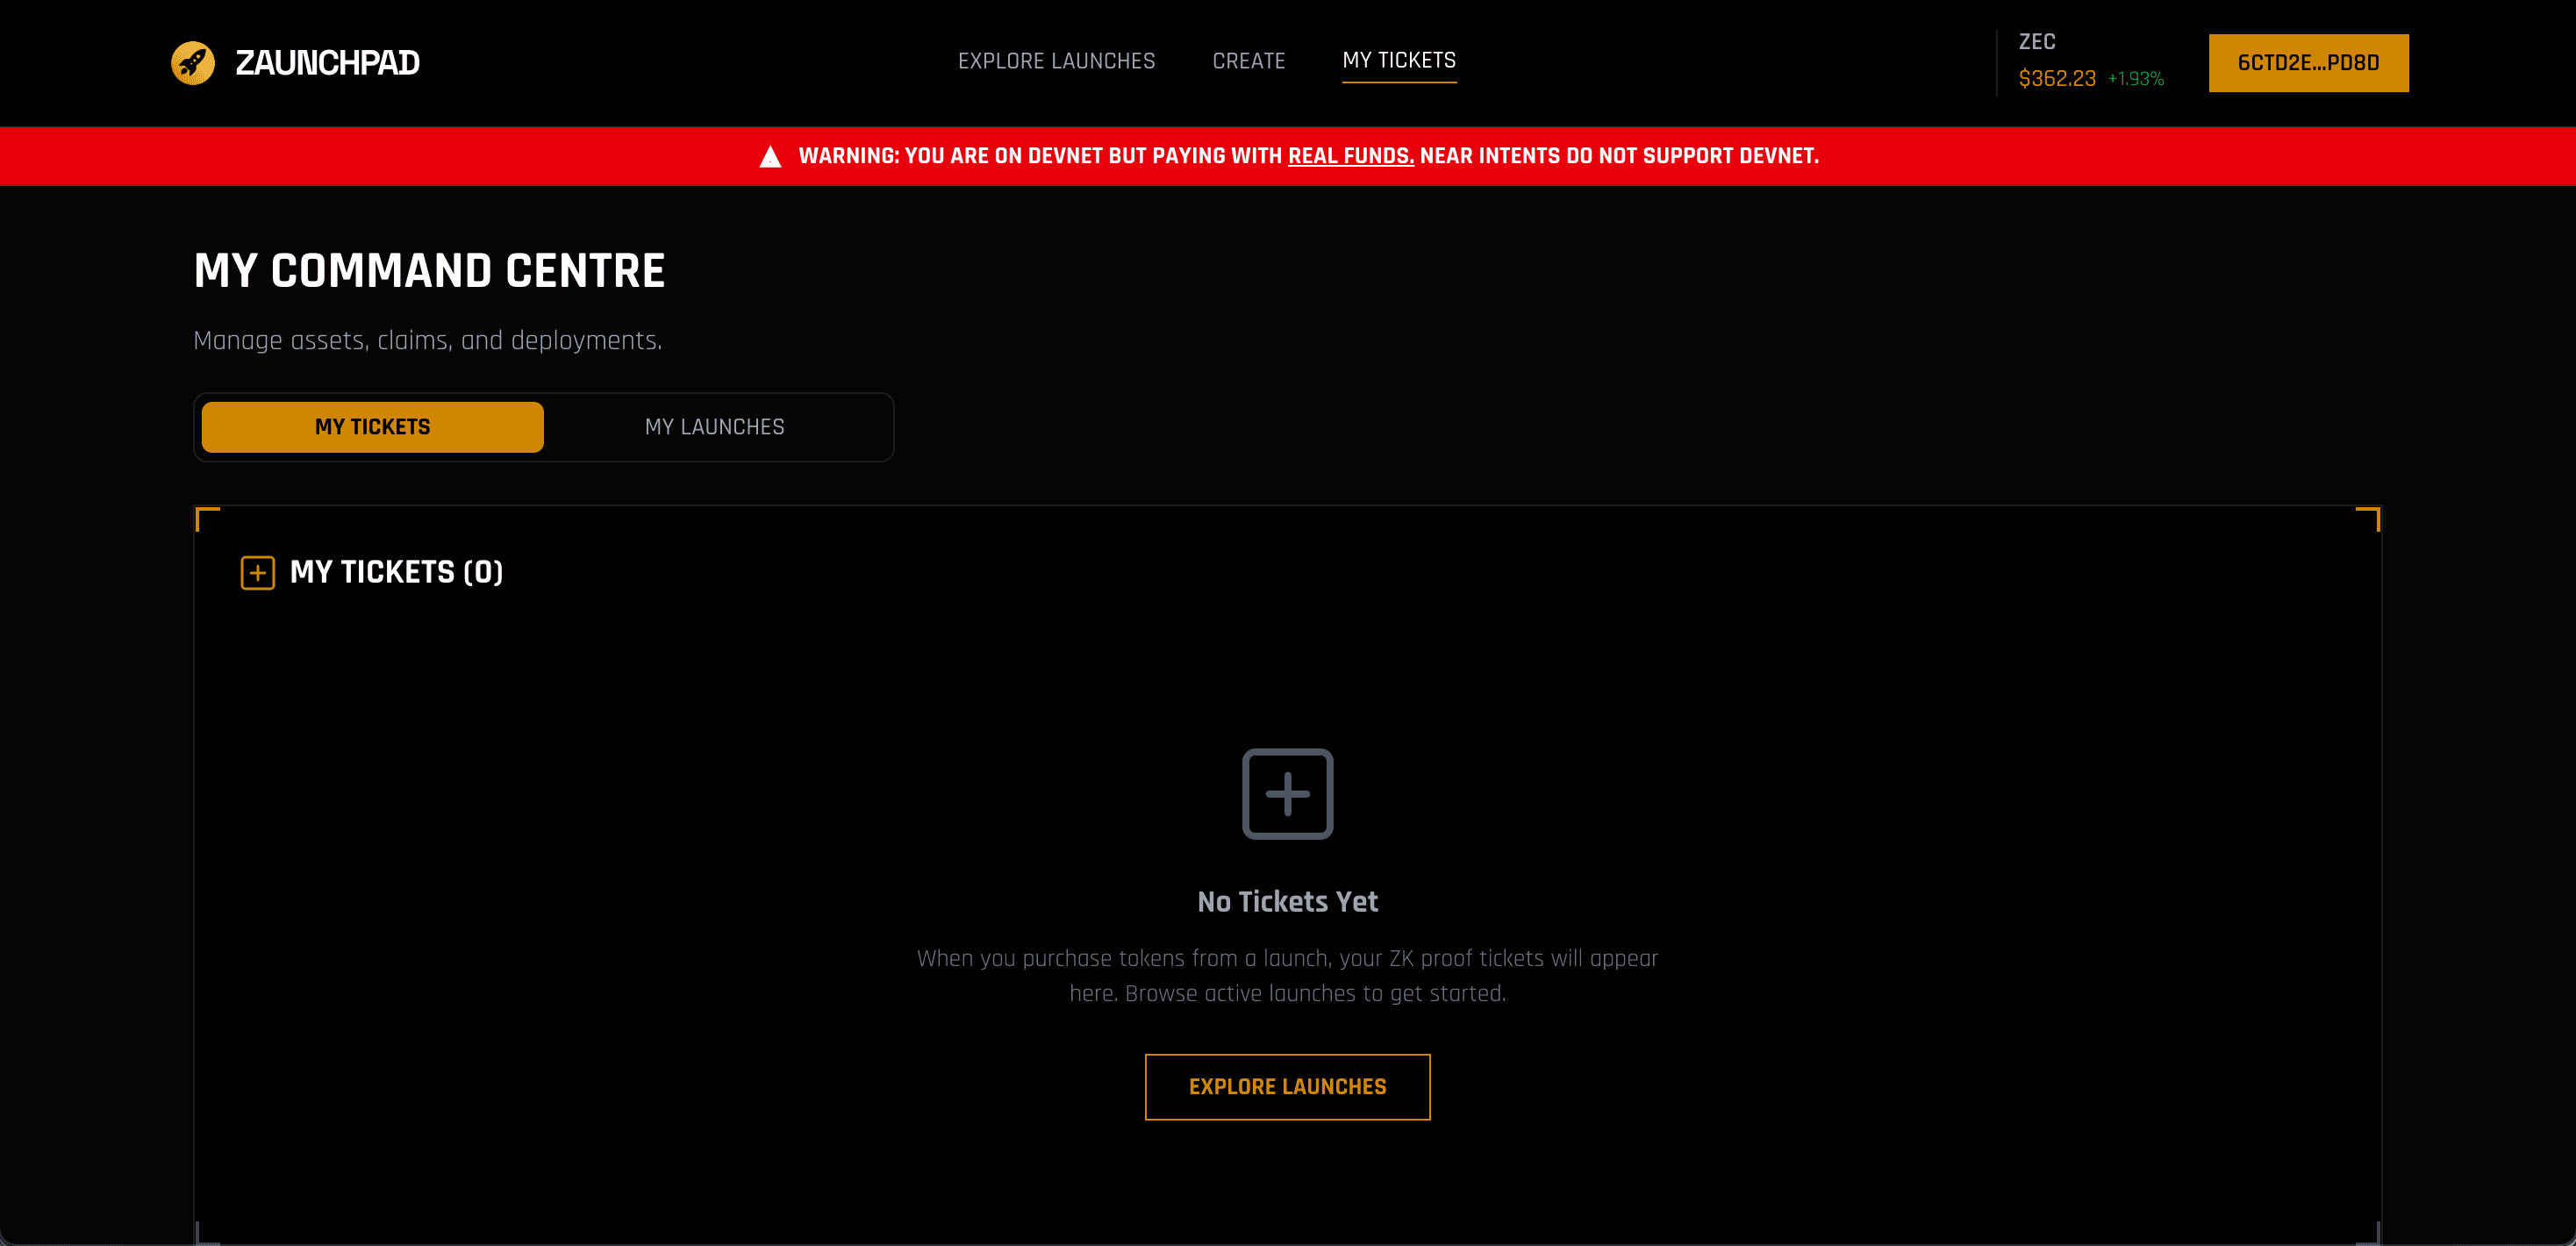
Dashboard Features
Your Launches
View all token launches you’ve created:
- Active Launches: Currently running token sales
- Completed Launches: Finished launches
- Launch Statistics:
- Total participants
- Total capital raised
- Tokens sold
- Claim status
Your Purchases
View all token purchases you’ve made:
- Active Purchases: Purchases waiting for claim period
- Claimable: Purchases ready to claim
- Claimed: Already claimed tokens
- Proof Status: Status of your ZK proofs
Launch Management
For your created launches:
- View Details: See full launch parameters
- Monitor Activity: Track participants and deposits
- Check Statistics: View real-time metrics
- Manage Settings: Update launch parameters (if allowed)
Claim Management
For your purchases:
- View Proofs: See all your proof references
- Download Proofs: Re-download proof ZIP files
- Claim Status: Check which purchases are claimable
- Transaction History: View all claim transactions
Dashboard Actions
For Launch Creators
- View Analytics: Track launch performance
- Monitor Participants: See who’s participating
- Check Liquidity: Monitor pool status
- Export Data: Download launch data
For Participants
- Track Purchases: Monitor all your token purchases
- Manage Proofs: Organize your proof files
- Claim Tokens: Claim eligible tokens
- View History: See transaction history
Best Practices
For Token Creators
- Plan Ahead: Prepare all token details before launching
- Set Realistic Parameters: Consider market conditions when setting prices
- Provide Clear Information: Detailed descriptions help build trust
- Monitor Performance: Track metrics in your dashboard
- Engage with Community: Respond to questions and feedback
For Participants
- Do Your Research: Understand the token and project before investing
- Start Small: Test with smaller amounts first
- Save Your Proofs: Keep proof ZIP files secure
- Monitor Dashboard: Check claim status regularly
- Understand Privacy: Know how shielded pools work
- Use Secure Wallets: Keep your private keys safe
Troubleshooting
Transaction Fails
- Check wallet has sufficient funds for gas fees
- Verify network connection
- Try increasing gas limit
- Check if contract is paused or restricted
Tokens Not Appearing
- Wait for blockchain confirmation (may take a few minutes)
- Refresh your wallet
- Check transaction on Solana explorer
- Verify correct wallet address
Proof Issues
- Ensure proof ZIP file is not corrupted
- Verify proof matches the launch
- Check if claim period has started
- Contact support if proof verification fails
Dashboard Not Loading
- Refresh the page
- Clear browser cache
- Check wallet connection
- Verify network connectivity
Need Help?
- Check the FAQ for common questions
- Review Debugging Guide for technical issues
- Visit our GitHub for code examples
- See Working with NEAR Intents for deposit details
- Contact support through the application